How to Customize This Template
This article is dedicated to walking through how to customize the Stackd template
The Stackd website template was built for creators who want a clean, professional online presence—fast. Whether you’re a writer, coach, or a bit of both, this guide will walk you through exactly how to make it your own.
1. Adjust Global Colors
First, open the Assets panel and head to the Global Colors. Update the primary, secondary, background, and text colors to match your brand. These colors will automatically update across buttons, links, and backgrounds throughout the site.
Pro tip: Keep contrast in mind—your text should be easy to read against the background.
2. Set Typography Styles
Next, customize the Global Typography Styles (also in the Assets panel). Edit the fonts, sizes, and spacing for headings, body text, buttons, and captions.
Choose a font that matches your tone—clean sans-serifs like Inter or DM Sans are great for modern brands, while serif fonts like Playfair Display work well for more editorial vibes.
3. Update Copy (Text)
Now it’s time to rewrite the copywriting sections directly on the site.
Edit:
Headlines
Taglines
Paragraphs
Button labels
Tailor the language to reflect your niche, tone, and offer. Make sure your CTA buttons are specific and action-oriented (e.g., “Apply for Coaching” or “Read the Newsletter”).
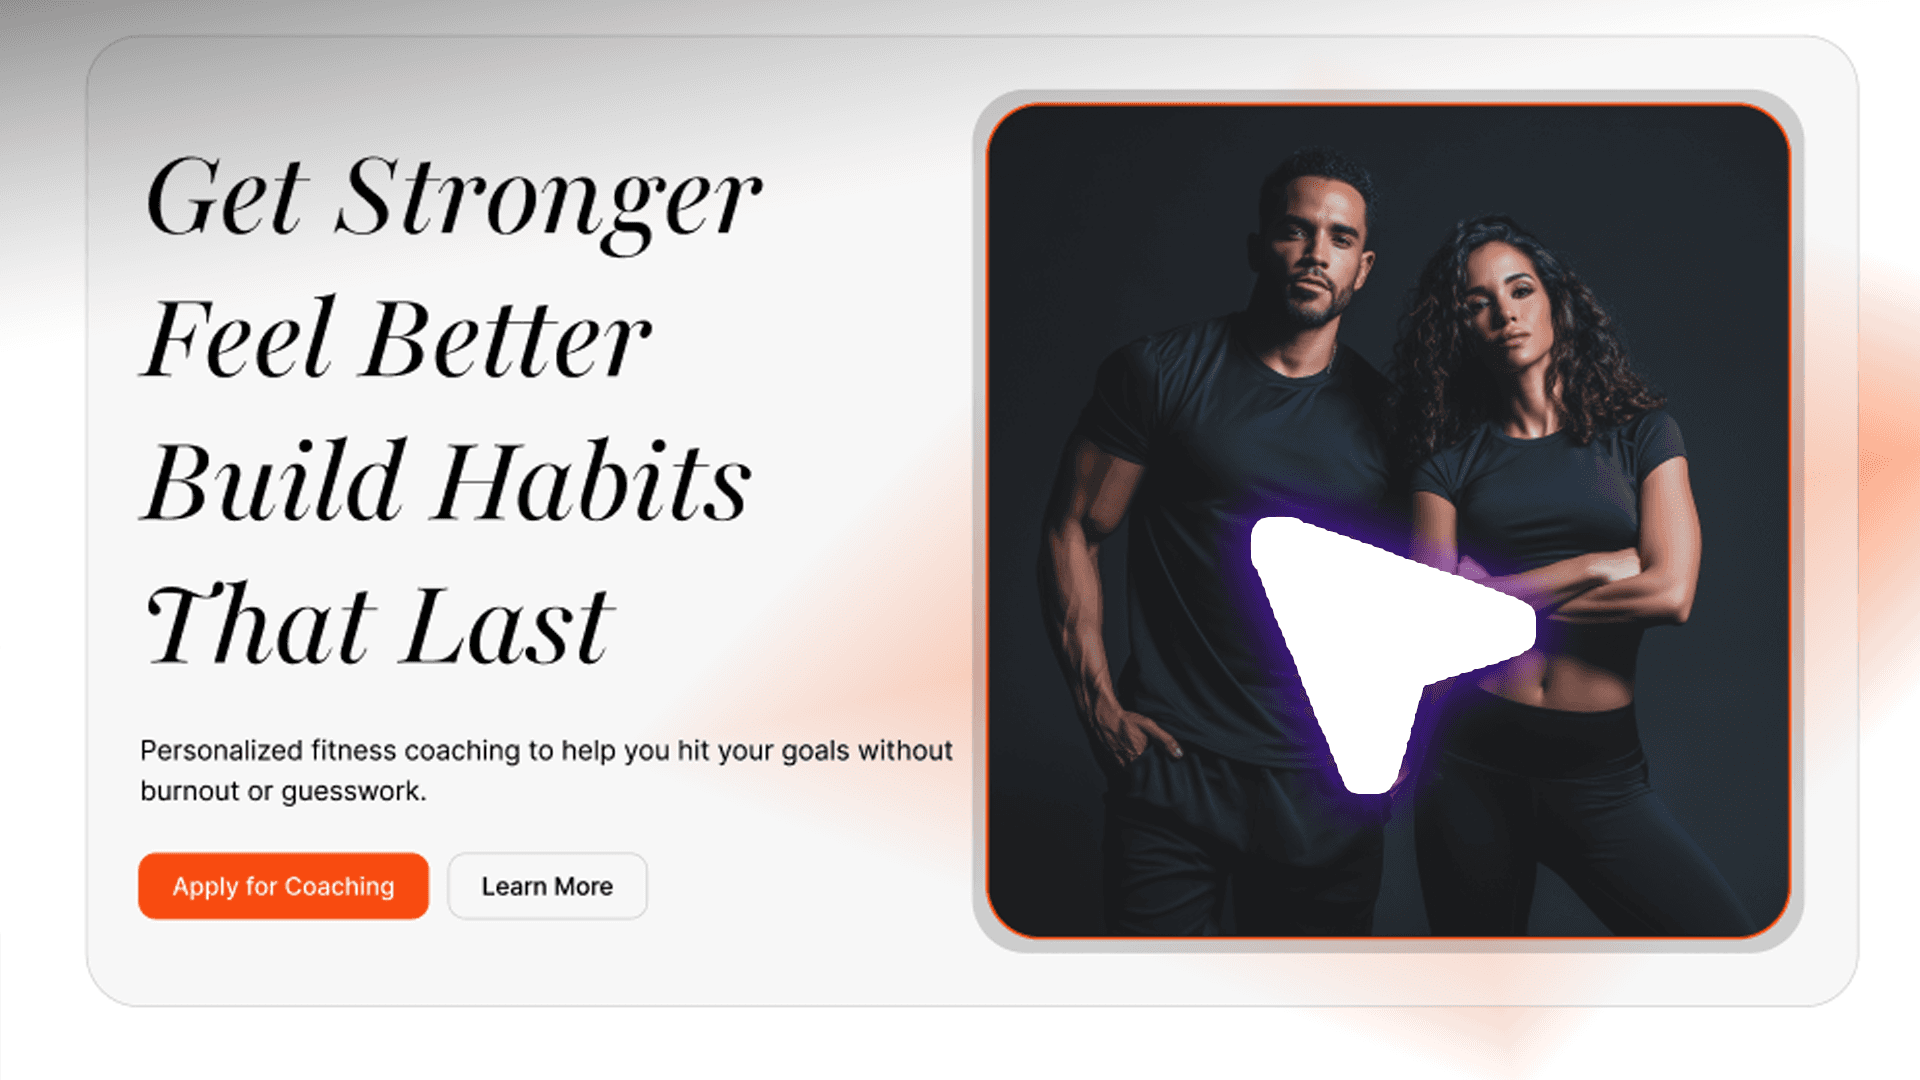
4. Replace Images
Swap out placeholder images with your own brand photography, transformation photos, or illustrations. You can drag and drop new images into the image blocks or use Framer’s built-in Unsplash integration.
Recommended formats:
JPG/WebP for hero images and blog headers
PNG for transparent icons or overlays
5. Add CMS Articles (Using Your Substack Posts)
Open the CMS panel and navigate to the “Articles” collection. Add your most popular or recent Substack posts manually by pasting the title, short summary, marking if the post as FREE or Premium and linking out to the full post on Substack.
You can also include:
A featured image = ideal for sharing links to social media accounts on X (twitter)
A content preview = great way to entice readers to subscribe to your substack with a preview of your content
This step helps with discovery and keeps your site fresh—even if you mainly publish on Substack.
6. Embed Calendly + Substack Form
If you offer coaching, speaking, or 1:1 calls, embed your Calendly link (or another booking tool) into the “Apply” section.
To build your email list, embed your Substack subscribe form using the embed code from your Substack dashboard. You can place this on the home page, about page, or dedicated “Subscribe” section.
7. Customize SEO Settings
Under Page Settings, customize each page’s:
Title
Meta Description
Social Preview Image
This helps your site look good when shared on social media and improves your search engine presence.
Upload a social preview image that reflects your brand and includes your name, headline, or logo for a more polished first impression. For CMS Article Pages the article image will be used for social sharing
8. Publish the Website
When you’re ready to go live, connect your custom domain under the Settings tab.
Make sure you’re on Framer’s Basic Plan or higher, which unlocks domain publishing and the CMS. If you haven’t purchased a domain yet, you can buy one directly through platforms like Namecheap or GoDaddy.
Click Publish, and your new site is live!
The Stackd website template was built for creators who want a clean, professional online presence—fast. Whether you’re a writer, coach, or a bit of both, this guide will walk you through exactly how to make it your own.
1. Adjust Global Colors
First, open the Assets panel and head to the Global Colors. Update the primary, secondary, background, and text colors to match your brand. These colors will automatically update across buttons, links, and backgrounds throughout the site.
Pro tip: Keep contrast in mind—your text should be easy to read against the background.
2. Set Typography Styles
Next, customize the Global Typography Styles (also in the Assets panel). Edit the fonts, sizes, and spacing for headings, body text, buttons, and captions.
Choose a font that matches your tone—clean sans-serifs like Inter or DM Sans are great for modern brands, while serif fonts like Playfair Display work well for more editorial vibes.
3. Update Copy (Text)
Now it’s time to rewrite the copywriting sections directly on the site.
Edit:
Headlines
Taglines
Paragraphs
Button labels
Tailor the language to reflect your niche, tone, and offer. Make sure your CTA buttons are specific and action-oriented (e.g., “Apply for Coaching” or “Read the Newsletter”).
4. Replace Images
Swap out placeholder images with your own brand photography, transformation photos, or illustrations. You can drag and drop new images into the image blocks or use Framer’s built-in Unsplash integration.
Recommended formats:
JPG/WebP for hero images and blog headers
PNG for transparent icons or overlays
5. Add CMS Articles (Using Your Substack Posts)
Open the CMS panel and navigate to the “Articles” collection. Add your most popular or recent Substack posts manually by pasting the title, short summary, marking if the post as FREE or Premium and linking out to the full post on Substack.
You can also include:
A featured image = ideal for sharing links to social media accounts on X (twitter)
A content preview = great way to entice readers to subscribe to your substack with a preview of your content
This step helps with discovery and keeps your site fresh—even if you mainly publish on Substack.
6. Embed Calendly + Substack Form
If you offer coaching, speaking, or 1:1 calls, embed your Calendly link (or another booking tool) into the “Apply” section.
To build your email list, embed your Substack subscribe form using the embed code from your Substack dashboard. You can place this on the home page, about page, or dedicated “Subscribe” section.
7. Customize SEO Settings
Under Page Settings, customize each page’s:
Title
Meta Description
Social Preview Image
This helps your site look good when shared on social media and improves your search engine presence.
Upload a social preview image that reflects your brand and includes your name, headline, or logo for a more polished first impression. For CMS Article Pages the article image will be used for social sharing
8. Publish the Website
When you’re ready to go live, connect your custom domain under the Settings tab.
Make sure you’re on Framer’s Basic Plan or higher, which unlocks domain publishing and the CMS. If you haven’t purchased a domain yet, you can buy one directly through platforms like Namecheap or GoDaddy.
Click Publish, and your new site is live!
Transform Your Fitness Journey Today - Get Personal Coaching
Ready to take the first step? Let’s chat about your goals and how I can help!
